


Raise your hand if you were lucky enough to ever receive Amish Friendship Bread.
Go back to your 12-year-old self and recall walking into school. You are handed a large Ziploc bag whose contents are of the same consistency of the plastic vomit bags kids had to carry off the bus during flu season. Your nose turns up as you stare at your BFF handing you this unknown delicacy but because you are a loyal friend and it is titled “Amish Friendship Bread“ so you take home the bag and follow the ten-day directions.
On day ten, you realize how loved you are and eagerly pass the concoction to your friends.
Our children are entering the years of Amish Friendship Bread, yet with the way life runs (cell phones, social media, insane sports schedules, working parents, etc), a ten-day wait for the delicious, warm, mouth-watering treat seems lost. Can you remember the last time you’ve laid your eyes upon the cream colored bag of goo being carried home?
November 17th is “Homemade Bread Day” and ten days later when the recipe is ready to be passed out, we land on “Giving Day,” making November the perfect month to mix up the starter recipe and spread the feeling of friendship and surprise again.
These simple moments painted our tween years with wonder and joy in the unexpected, small delights of homemade deliciousness.
Let’s give our kids a moment of pause and enjoy this familiar simplicity wrapped in friendship.
~~~~~~~~~~~~~~~~~~~~~~~~~~~~~~~~~~~~
Original Starter Recipe – you will need to do this, as likely you were not passed a starter Ziploc bag.
- .25 ounce active dry yeast (or 1 packet)
- ¼ cup warm water 110° F/45° C
- 1 cup flour
- 1 cup sugar
- 1 cup milk
-
In a small, non-metal bowl, dissolve yeast in water. Let stand 10 minutes.
-
In a 2-quart glass, plastic or ceramic container, combine 1 cup flour and 1 cup sugar. Mix thoroughly with a non-metal whisk/fork.
-
Slowly stir in 1 cup milk and dissolved yeast mixture.
-
Cover loosely and let stand at room temperature until bubbly. Consider this Day 1 of the 10-day cycle. For the next 10 days, handle starter according to the instructions for Amish Friendship Bread Recipe.
The starter should be left at room temperature. Drape loosely with a dish towel. Do not use metal utensils or bowls. If using a sealed Ziploc bag, be sure to let the air out if the bag gets too puffy. Your yield may exceed 4 cups depending on the temperature of your kitchen and eagerness of your starter. If this happens, reserve one cup for baking and divide the remaining batter into Ziploc baggies of 1 cup each to freeze or share with friends.
AMISH FRIENDSHIP BREAD INSTRUCTIONS
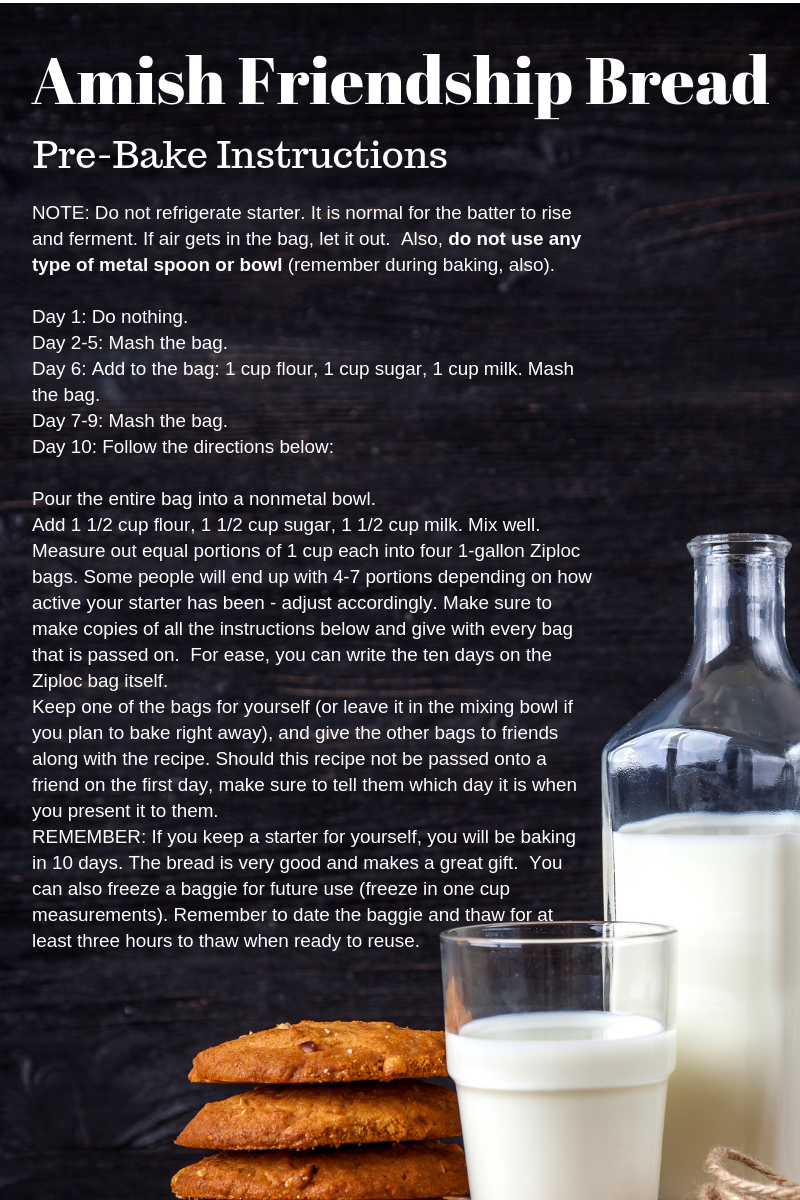
NOTE: Do not refrigerate starter. It is normal for the batter to rise and ferment. If air gets in the bag, let it out. Also, do not use any type of metal spoon or bowl (remember during baking, also).
Day 1: Do nothing.
Day 2: Mash the bag.
Day 3: Mash the bag.
Day 4: Mash the bag.
Day 5: Mash the bag.
Day 6: Add to the bag: 1 cup flour, 1 cup sugar, 1 cup milk. Mash the bag.
Day 7: Mash the bag.
Day 8: Mash the bag.
Day 9: Mash the bag.
Day 10: Follow the directions below:
- Pour the entire bag into a nonmetal bowl.
- Add 1 1/2 cup flour, 1 1/2 cup sugar, 1 1/2 cup milk. Mix well.
- Measure out equal portions of 1 cup each into four 1-gallon Ziploc bags. Some people will end up with 4-7 portions depending on how active your starter has been – adjust accordingly. Make sure to make copies of all the instructions below and give with every bag that is passed on. For ease, you can write the ten days on the Ziploc bag itself.
- Keep one of the bags for yourself (or leave it in the mixing bowl if you plan to bake right away), and give the other bags to friends along with the recipe. Should this recipe not be passed onto a friend on the first day, make sure to tell them which day it is when you present it to them.
REMEMBER: If you keep a starter for yourself, you will be baking in 10 days. The bread is very good and makes a great gift. You can also freeze a baggie for future use (freeze in one cup measurements). Remember to date the baggie and thaw for at least three hours to thaw when ready to reuse.
The Recipe:
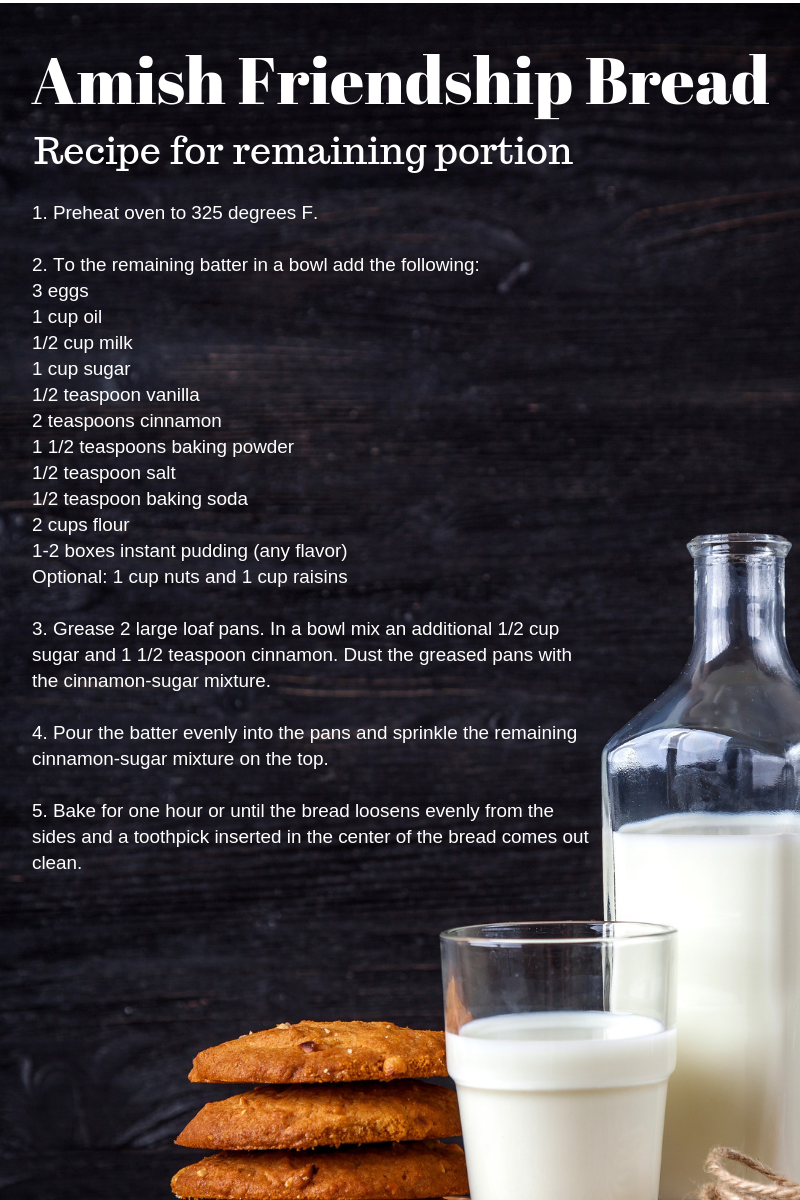
1. Preheat oven to 325 degrees F.
2. Add the following to the remaining batter in a bowl :
3 eggs
1 cup oil
1/2 cup milk
1 cup sugar
1/2 teaspoon vanilla
2 teaspoons cinnamon
1 1/2 teaspoons baking powder
1/2 teaspoon salt
1/2 teaspoon baking soda
2 cups flour
1-2 boxes instant pudding (any flavor)
Optional: 1 cup nuts and 1 cup raisins
3. Grease 2 large loaf pans. In a bowl mix an additional 1/2 cup sugar and 1 1/2 teaspoon cinnamon. Dust the greased pans with the cinnamon-sugar mixture.
4. Pour the batter evenly into the pans and sprinkle the remaining cinnamon-sugar mixture on the top.
5. Bake for one hour or until the bread loosens evenly from the sides and a toothpick inserted in the center of the bread comes out clean.


