


Crafty Fun for (Nearly) Free, is a series that explores budget friendly craft activities for kiddos of all ages. We will show you how to maximize a few bucks and simple supplies for hours of fun and entertainment!
This edition of Crafty Fun has a holiday ornament theme. All of the supplies used in the activities below were purchased at the dollar store or I already had them in the house. My total cost for everything you see below was $7.00, because I did have to buy bird seed, mini clay flower pots and Styrofoam balls.
Birdseed Ornaments
Good for: Older Toddlers, Preschoolers, School Age Kids, Adolescents
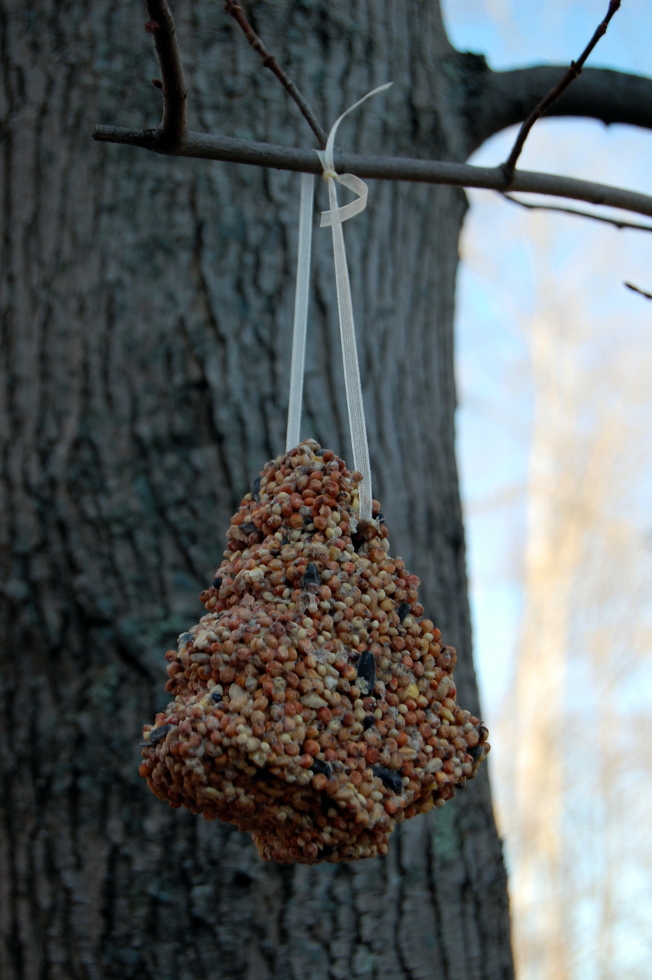 What you need and what you do: The recipe and directions I used for the birdseed ornaments can be found here.
This might possibly be one of my all time favorite activities I have ever attempted with my girls. It was really easy and all of us had a great time both creating the bird seed shapes and also watching the cardinals in the back yard enjoy them. They are also surprisingly pretty to look out and see hanging from the trees in the backyard. We are planning to give these to the girl’s preschool teachers as gifts this year.
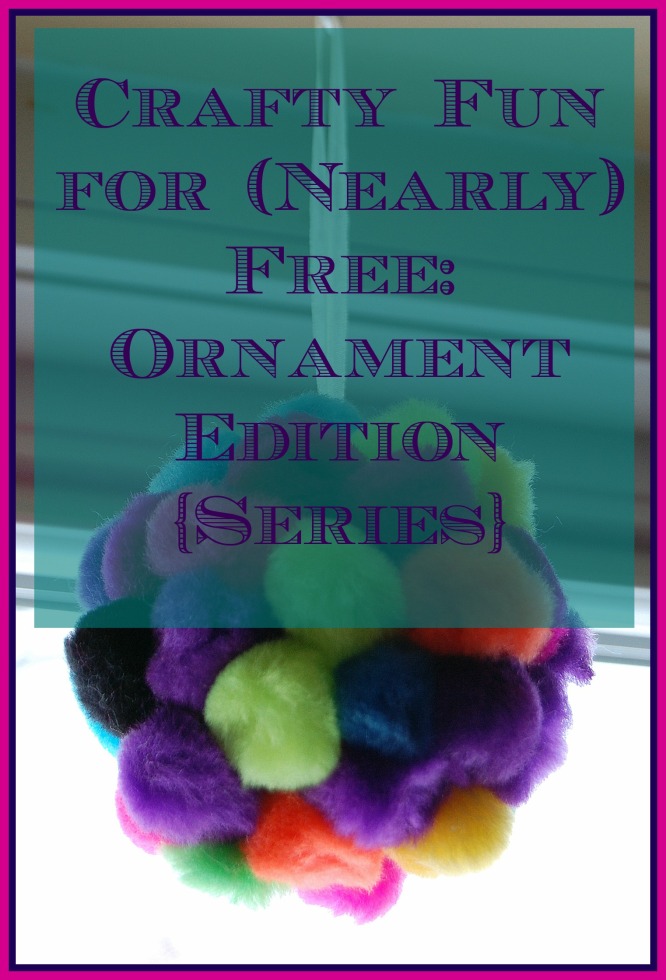
Puff Ball Ornaments
Good for: Preschoolers, School Age Kids, Adolescents
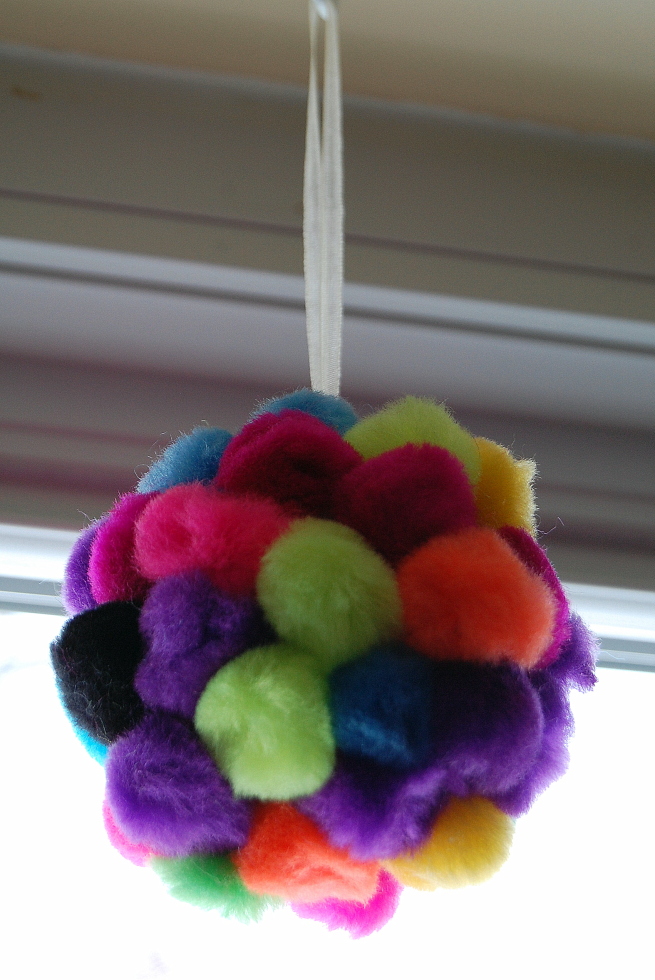 What you need: Puff balls, Styrofoam balls, Straight pins (or craft glue), Ribbon or string to hang
What you do: Attach string or ribbon to Styrofoam ball with a push pin. Allow your child to then attach puff balls however they choose with the push pins until they fill in the entire ornament. (**Note about push pins… with the right demonstration and supervision, even my preschooler was successful utilizing these without injury and they are easier than glue.)
Adolescents can take this one a step further and use push pins to attach buttons to the Styrofoam balls for a more intensive, but really cool looking alternative.
Snowman Ornaments
Good for: School Age Kids, Adolescents
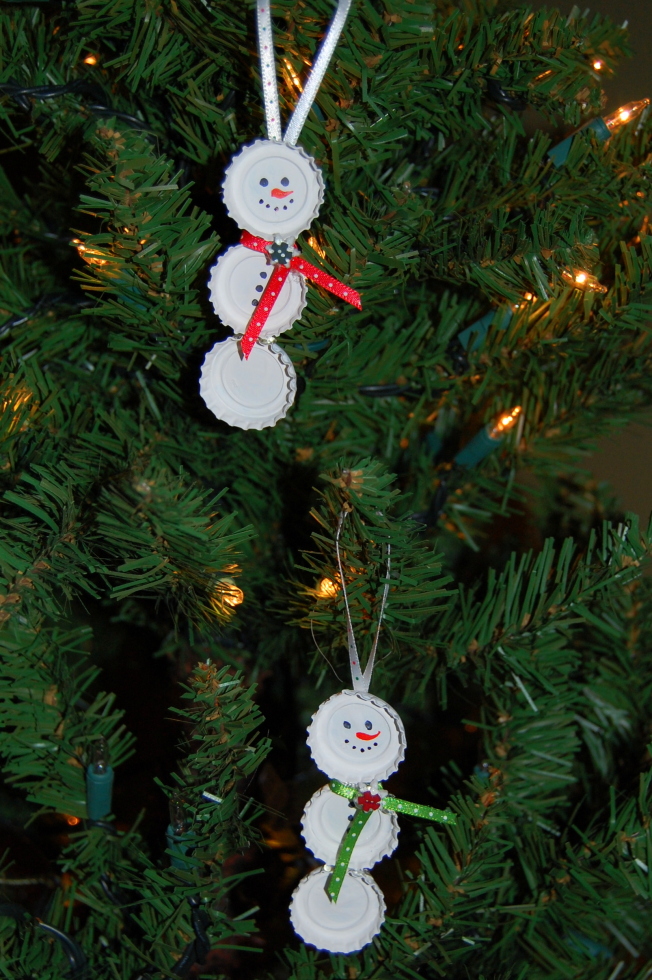 What you need: Bottle caps, White paint, Markers, Buttons, Ribbon, Glue
What you do: Paint the bottle caps white and allow them to dry. Glue 3 bottle caps together to make your snowman body. (I did use my hot glue gun so I wouldn’t have to wait forever for craft glue to dry.) Use your markers to draw on the buttons and face. Give him a ribbon scarf which can be decorated with a button. Attach a ribbon and hang.
Rudolf the Red Nose Reindeer Ornaments
Good for: Preschoolers, School Age Kids
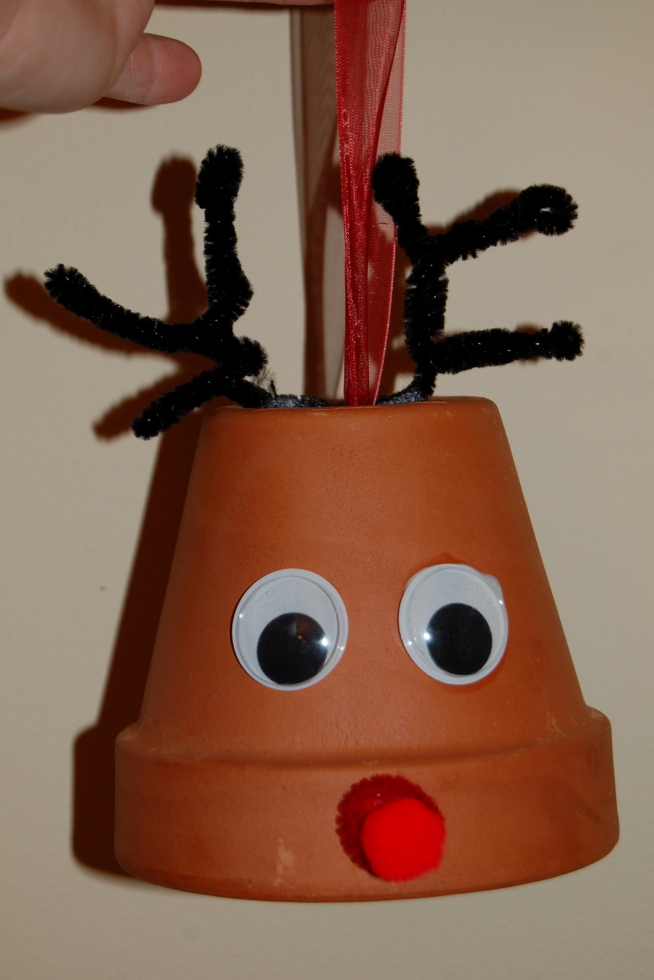 What you need: Mini clay pots (available at most garden centers), Brown or black pipe cleaners, Red puff balls, Googly eyes, Glue, Ribbon
What you do: Bend your pipe cleaners however you see fit to fashion your antlers. Slip them through the hole on the top and bend under to get them to stay (add a little glue if you want to as well). Glue on googly eyes and puff ball nose. Once everything has dried, knot ribbon and slip through hole at top so you have something to hang the ornament with.
Christmas Trees
(This one is not technically an ornament, but it is fun and cute, so I included it anyway.)
Good for: School Age Kids, Adolescents
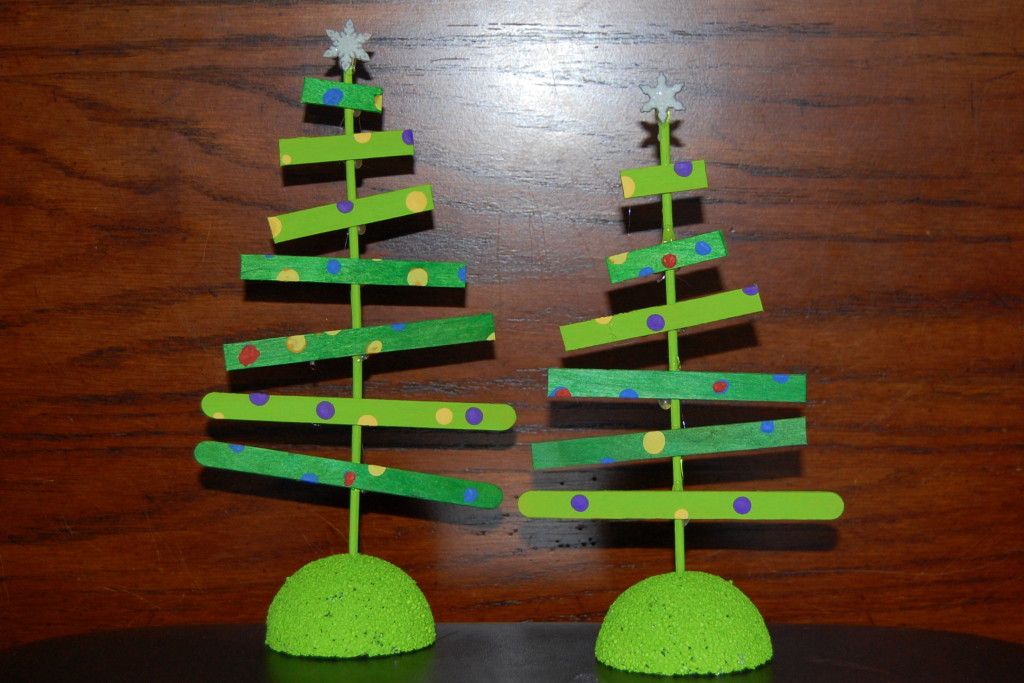 What you need: Colored Popsicle sticks (or plain ones that you paint), Glue, Paint, Styrofoam balls, Skewer or another longer stick to create the trunk of your tree (I use kebob sticks that you can buy at the grocery store), trinket for the top of your tree.
What you do: Use a knife to cut the Styrofoam ball in half. Insert kebob stick into it to create the base and trunk of your tree. Paint these however you would like. Paint your Popsicle sticks any color and design that you would like as well. Once dried, cut the sticks into different lengths to create the Christmas tree shape. Glue these to the trunk (Because I used such a small trunk, I did use the hot glue gun to help my Popsicle sticks stay on better). Add your tree topper and you have a cute decoration for the season.
Happy Crafting!


