


 Freezer meal cooking is a type of meal-planning that makes the life of a mom easier, yet rarely gets accomplished because of the time that it takes to plan & prepare. A freezer meal swap is an organized event done amongst a group of people (large or small) where a single recipe is made multiple times and given to each person in the group. It works much like a cookie exchange, except you leave with a variety of meals to stick in you freezer. If you have never heard of it, or taken the time to organize a freezer meal swap, I am here to give you some tips & tricks to get started.
After having many conversations with friends regarding busy schedules and being in a “food rut”, I was inspired to host a freezer meal swap in my home to help take the guesswork out of deciding what to have for dinner.
5 Steps to Freezer Meal Swap Success
1: INVITE. The first step is to decide how big you want your group to be. Keep in mind, you will make a meal for each person attending. I have done a group of 5 as well as a group of 16. The great thing is that you can control the size of your swap (and essentially the amount of prep you have to do). I used a private event in Facebook to not only keep track of RSVP’s, but to manage recipes & allow those that were attending to make comments/suggestions. I suggest sending out the invite at least a month ahead of time, and set an RSVP date 2 weeks prior to the event. The goal here is to eliminate stress, so planning ahead is key!
2. CREATE. You may choose to create a menu or sign-up with different types of recipes to keep it simple. I decided to take a chance in letting everyone pick their recipe and boy did we come up with a wonderful list. Just to give you an idea, a few meals that were in our swap were Cilantro Lime Chicken, Beef Stew, and Lasagna. Yum!
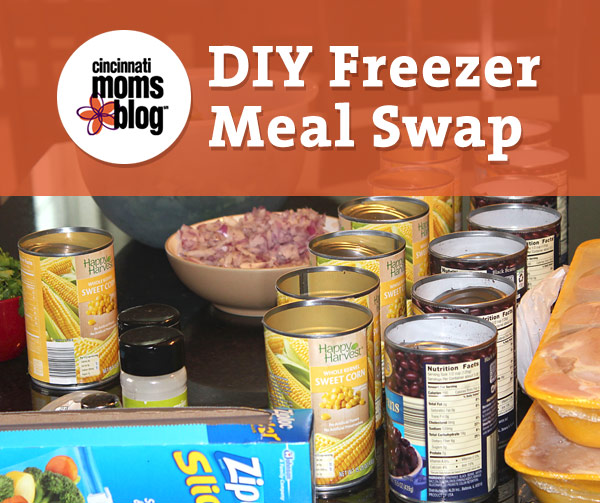
3. PREPARE. Make a shopping list for all ingredients. Don’t forget to include food storage (freezer bags or foil pans) to prepare your meals in. Chop all ingredients and cook meat ahead of time (if needed). Assemble recipes and be sure to include a recipe with each meal.
4. SWAP. Assign each guest to a space at a table or counter. Using a name plate works best. Each person then travels around to every spot, leaving a meal in each designated area. Once meals are passed out, everyone is given a meal checklist (only necessary with large groups) so each meal can be accounted for before placing back into the cooler.
5. SOCIALIZE. The best part! With choosing to do all of the planning ahead of time, we had time to do what ladies do best…eat, drink and chat! We decided that the freezer meal swap was a success and look forward do to doing them regularly.
I hope that I have inspired you to try a freezer meal swap. I will say that it was well worth the work in the beginning to have our freezers stocked full off meals that are ready to go. Less time meal planning equals a more time for family. That is a win for everyone!


So what meals did you try? Any wins?