


 I knew that Milo and I would be spending a Saturday together, and I decided I wanted to do something a little bit different. As much fun as lazy, chilly, autumn days are, I thought it would be nice to get a little messy.
I don’t know what prompted the memory, but in a moment of reminiscence of my high school days, I recalled a particular tradition. The Spanish classes at my high school would go out of its way to recognize “El Dia De Los Muertos,” the Day of the Dead. Our teachers handed us all sorts of extra credit opportunities to make the day all the more special. One such extra credit option was to bake up a batch of “Yummy Mummy Cookies.” It turned out my mom still had the recipe in her collection, and so Milo and I had our activity for the day.
I knew, going in, that I wanted this to be an opportunity to have Milo be involved as much as possible. Usually, having him underfoot and messing around in the kitchen can be a frustration, but I wanted to really get into it. There are so many people in the world who see cooking as a troublesome burden (like my wife), but I want to get Milo used to the idea that the same chores that people some find common place and cumbersome can hopefully be a lot of fun for others.
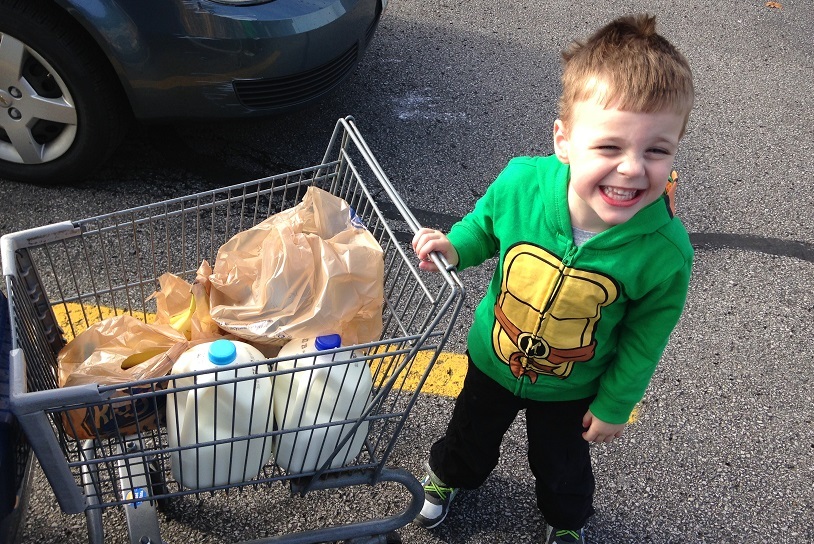
So together we gathered up supplies. We printed the recipe that grandma sent over, and we got right into it. I tried to let Milo do as much as possible. He would add ingredients into the mixer, he would scoop the ingredients with the measuring cups, and he got to show off his superb stirring skills! In the end they came out great. We had ourselves a great day and we get to finish it off with dessert!

Check out our Yummy Mummy Recipe below.
Yummy Mummy Cookies
Ingredients:
2/3 cup butter, 1 cup sugar, 2 teaspoons vanilla extract
3 eggs, 2 ½ cups of flour, ½ cup cocoa
¼ teaspoon baking soda, ½ teaspoon salt
1 package of white chocolate chips, 1 to 2 tablespoons of shortening
chocolate chips, food coloring, and any other decorations you choose
What You Do:
1. Beat the butter, sugar and vanilla in a large bowl until creamy. Add eggs and beat well.
2. Stir together flour, cocoa, baking soda and salt. Add gradually to the butter mixture, beat until blended.
3. Chill the dough 15 to 20 minutes or until firm enough to handle.
4. Preheat oven to 350 degrees.
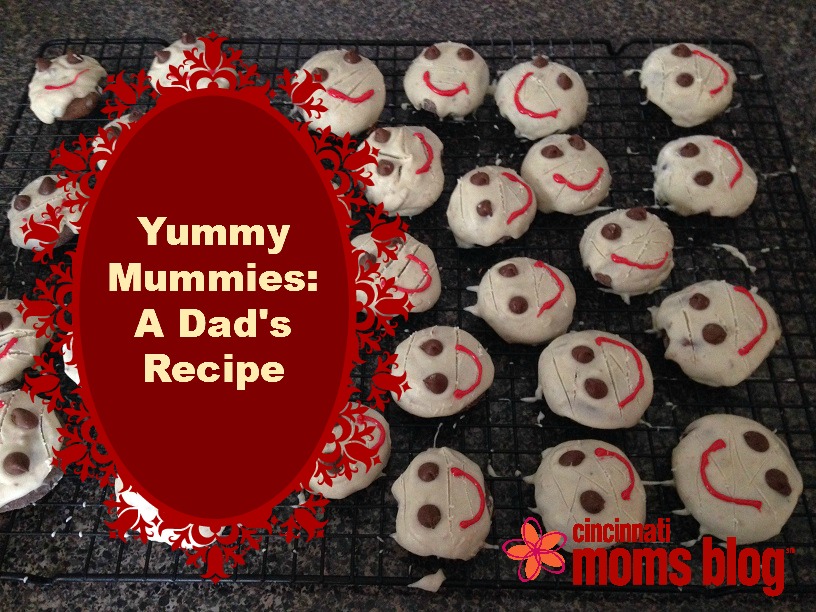
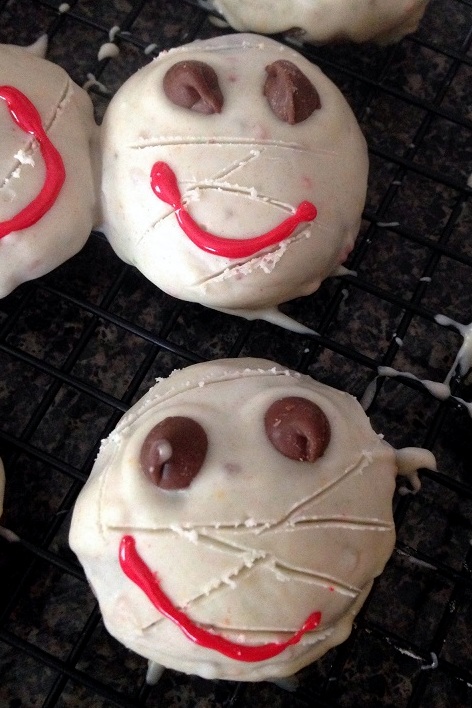
5. The original recipe suggests taking a tablespoon of the dough, pressing it into a carrot shape, then take a teaspoon of dough and shape it into a ball for a head. When put together they will make the entire mummy body. For simplicity, Milo and I opted to make mummy heads, so we stuck with a ball shape.
 6. Stick the cookies in the oven for about 8 to 10 minutes, pull them out and let them cool a bit on a cookie sheet. Then transfer them over to a wire rack to cool the rest of the way.
7. While the cookies are cooling, put the bag of white chocolate chips into a microwaveable bowl with the tablespoons of shortening. Microwave it for a minute at first, then about 20 seconds at a time after that until melted.
8. Dad Addition to the Recipe: We added food coloring to get the tan color for our frosting, 4 drops yellow, 3 drops red, and 2 drops green.
9. Coat the tops of the cookies with melted chocolate chip frosting.
10. When it starts to cool, you can use regular chocolate chips as mummy eyes, and use a tooth pick to draw the lines of the wrapping.
(1 batch of dough makes about 30 cookies)
How fancy and fun can you get your batch to look? Feel free to share your Yummy Mummy family photos!


